Reduce the size of your c: partition to the smallest it can be and then turn off windows with the understanding that you will never boot this system on the iron ever again.
Boot into a netinst installer image (no GUI). hold alt and press left arrow a few times until you get to a prompt to press enter. Press enter.
In this example /dev/sda is your windows disk which contains the c: partition
and /dev/disk/by-id/usb0 is the USB-3 attached SATA controller that you have your SSD attached to (please find an example attached). This SSD should be equal to or larger than the windows disk for best compatability.

To find the literal path names of your detected drives you can run fdisk -l. Pay attention to the names of the partitions and the sizes of the drives to help determine which is which.
Once you have a shell in the netinst installer, you should maybe be able to run a command like the following. This will duplicate the disk located at if (in file) to the disk located at of (out file) while showing progress as the status.
dd if=/dev/sda of=/dev/disk/by-id/usb0 status=progress
If you confirm that dd is available on the netinst image and the previous command runs successfully, test that your windows partition is visible in the new disk’s partition table. The start block of the windows partition on each should match, as should the partition size.
fdisk -l /dev/disk/by-id/usb0
fdisk -l /dev/sda
If the output from the first is the same as the output from the second, then you are probably safe to proceed.
Once you confirm that you have made and tested a full copy of the blocks from your windows drive saved on your usb disk, nuke your windows partition table from orbit.
dd if=/dev/zero of=/dev/sda bs=1M count=42
You can press alt-f1 to return to the Debian installer now. Follow the instructions to install Debian. Don’t forget to remove all attached USB drives.
Once you install Debian, press ctrl-alt-f3 to get a root shell.
Add your user to the sudoers group:
# adduser cjac sudoers
log out
# exit
log in as your user and confirm that you have sudo
$ sudo ls
Don’t forget to read the spider man advice
enter your password
you’ll need to install virt-manager. I think this should help:
$ sudo apt-get install virt-manager libvirt-daemon-driver-qemu qemu-system-x86
insert the USB drive. You can now create a qcow2 file for your virtual machine.
$ sudo qemu-img convert -O qcow2 \
/dev/disk/by-id/usb0 \
/var/lib/libvirt/images/windows.qcow2
I personally create a volume group called /dev/vg00 for the stuff I want to run raw and instead of converting to qcow2 like all of the other users do, I instead write it to a new logical volume.
sudo lvcreate /dev/vg00 -n windows -L 42G # or however large your drive was
sudo dd if=/dev/disk/by-id/usb0 of=/dev/vg00/windows status=progress
Now that you’ve got the qcow2 file created, press alt-left until you return to your GDM session.
The apt-get install command above installed virt-manager, so log in to your system if you haven’t already and open up gnome-terminal by pressing the windows key or moving your mouse/gesture to the top left of your screen. Type in gnome-terminal and either press enter or click/tap on the icon.
I like to run this full screen so that I feel like I’m in a space ship. If you like to feel like you’re in a spaceship, too, press F11.
You can start virt-manager from this shell or you can press the windows key and type in virt-manager and press enter. You’ll want the shell to run commands such as virsh console windows or virsh list
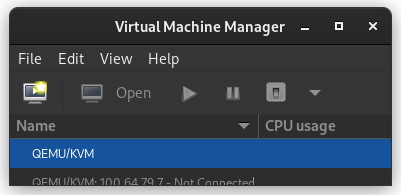
When virt-manager starts, right click on QEMU/KVM and select New.
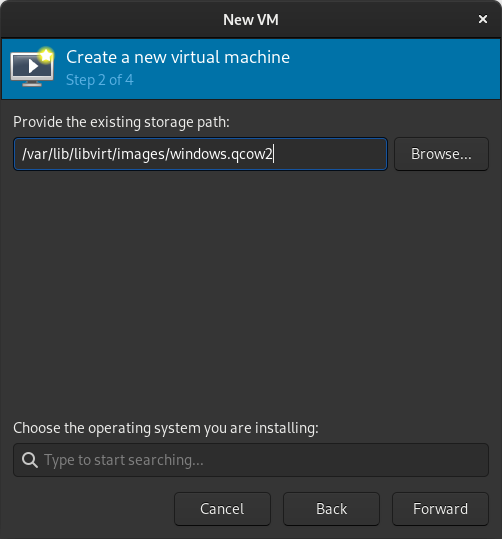
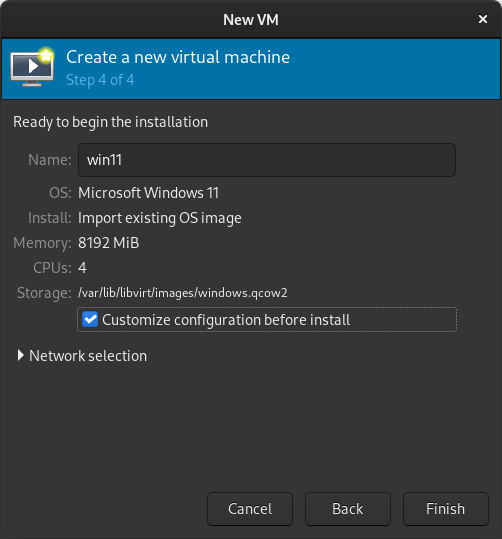
In the New VM window, select “Import existing disk image”

When prompted for the path to the image, use the one we created with sudo qemu-img convert above.
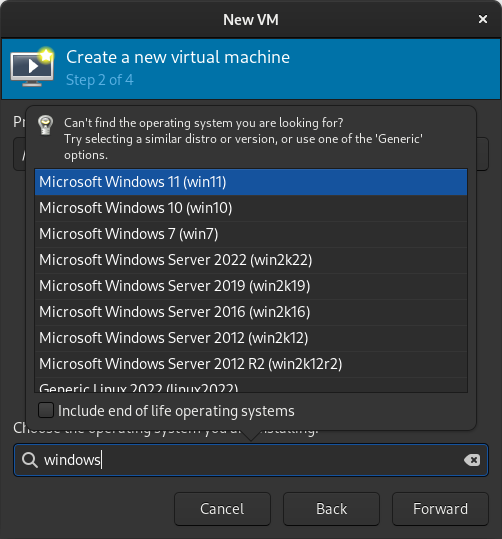
Select the version of Windows you want.
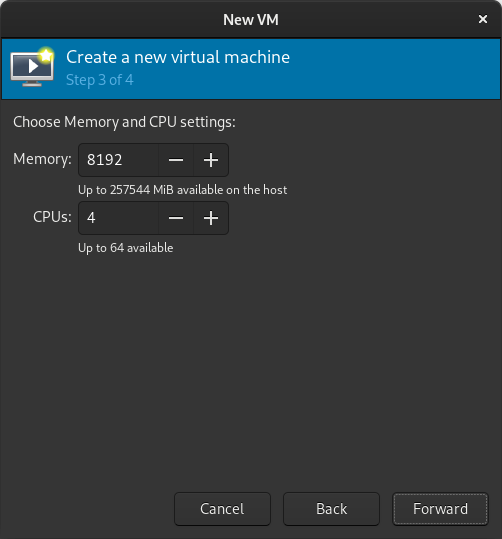
Select memory and CPUs to allocate to the VM.
Tick the Customize configuration before install box
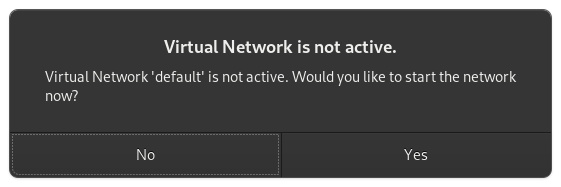
If you’re prompted to enable the ‘default’ network, do so now.
The default hardware layout should probably suffice. Get it as close to the underlying hardware as it is convenient to do. But Windows is pretty lenient these days about virtualizing licensed windows instances so long as they’re not running in more than one place at a time.

Good luck! Leave comments if you have questions.